Repotting plants is a vital part of their care, helping to promote healthy growth and ensure they have the space and nutrients they need. However, many gardeners may make common mistakes during the repotting process. Hence, understanding what not to do when repotting is just as important as knowing the best practices of repotting a plant.
What Not to Do When Repotting Plants
- Choose the Wrong Pot Size: Opting for a pot that is too large can lead to excess soil that retains too much moisture, increasing the risk of root rot. Instead, choose a pot that is only 1-2 inches larger in diameter than the current one.
Neglect to Inspect Roots: Failing to examine the root system can result in repotting a plant with root rot or disease. Always check the roots for any signs of damage or decay and trim away unhealthy sections. - Use Poor Quality Soil: Using garden soil or old potting mix can introduce pests and diseases. Always use fresh, high-quality potting soil that suits your plant’s specific needs.
- Not Water the Plants Beforehand: Repotting a dry plant can cause stress. Water your plant a day or two before repotting to ensure it is hydrated and to make the process smoother.
- Forget to Provide Drainage: Not ensuring proper drainage can lead to waterlogged soil. Make sure the new pot has drainage holes and consider adding stones or broken pottery at the bottom.
Skip the Acclimation Process: Immediately placing a newly repotted plant in direct sunlight can shock it. Gradually acclimate the plant to its new environment, starting in a shaded area. - Overwater After Repotting: It’s easy to overwater a newly repotted plant, thinking it needs extra moisture. Allow the soil to dry slightly between waterings to help the plant adjust.
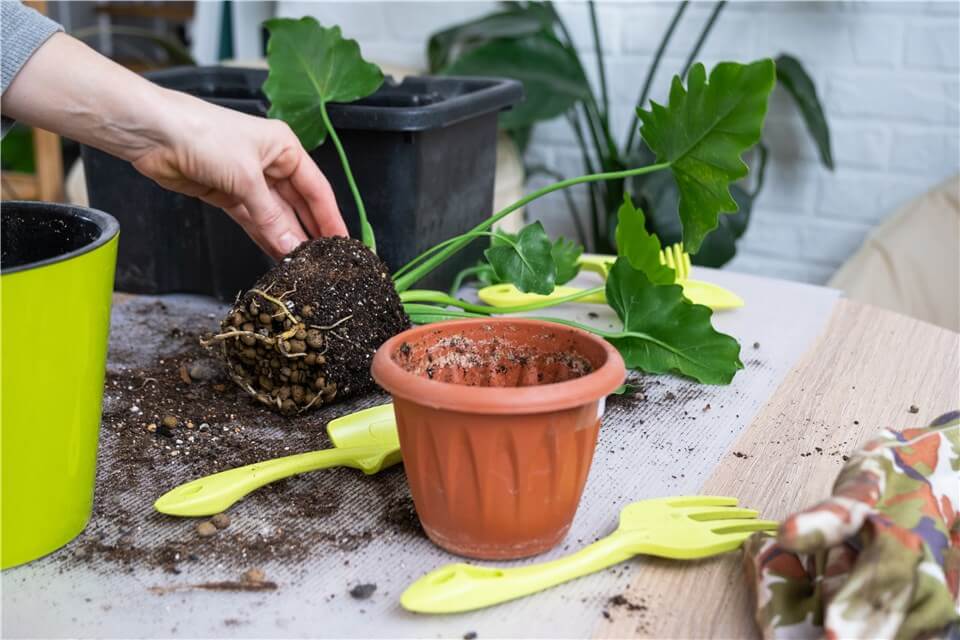
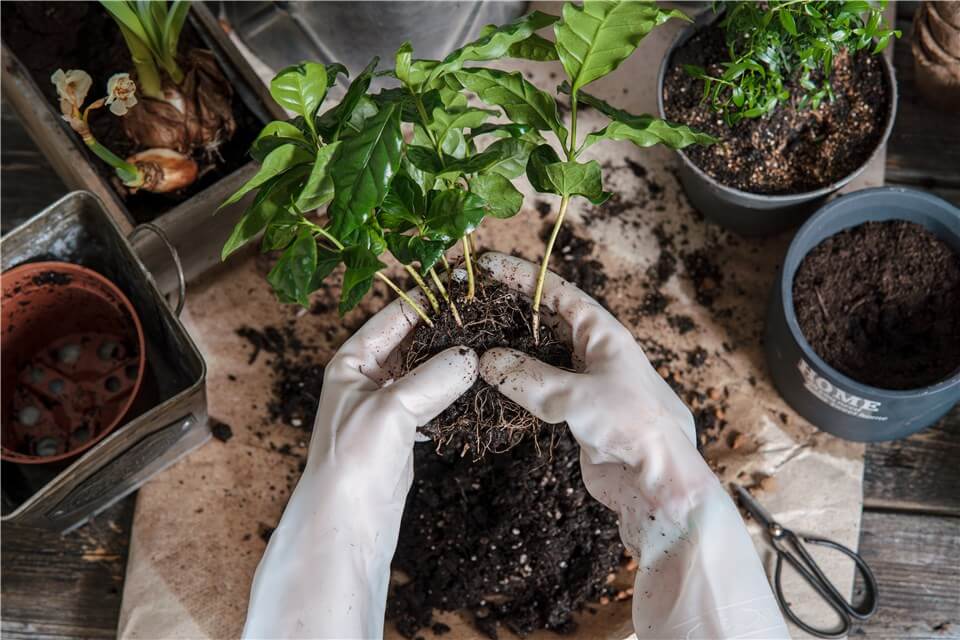
Repotting a plant is an essential skill for any gardener, whether you're a novice or an experienced green thumb. Knowing how to repot correctly is key to minimizing stress on your plants. In this step-by-step guide, we will walk you through the entire repotting process, from selecting the right pot and soil to ensuring a smooth transition for your plant. By following these simple yet effective steps, you can promote a healthier, more vibrant plant that thrives in its new environment.
Repot a Plant without Killing It
You can repot a plant without harming it by carefully choosing the right time—preferably during its active growth season. Select a pot that is only slightly larger, with proper drainage. To repot a plant without killing it, follow these essential steps to minimize stress and ensure a successful transition.
Repot a Plant without Killing It
- Choose a new pot that is only one to two inches larger in diameter than the current one to avoid overwhelming the plant with excess soil.
- Water the plant about an hour before repotting to hydrate it and reduce transplant shock. Gently remove the plant from its pot, taking care not to pull on the leaves, and loosen any tightly bound roots by gently teasing them apart. If necessary, trim any damaged or excessively long roots to promote healthy growth.
- Place the plant in the new pot, ensuring it sits at the same depth as before, and fill in with fresh, well-draining soil, lightly pressing it down to eliminate air pockets.
- Finally, water the plant thoroughly until water drains from the bottom, and place it in a suitable location with appropriate light and humidity to help it acclimate to its new environment.
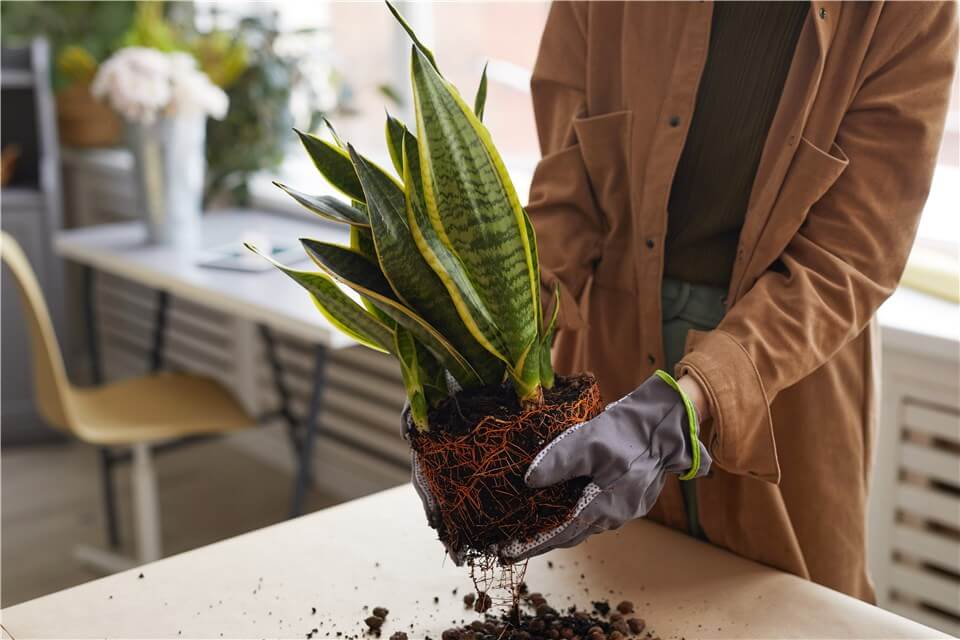
Repot a Snake Plant
Early spring or summer is the best time to propagate a snake plant and repot a snake plant. This is because the plant is actively growing in this season. Ensure the new pot has drainage holes and add a layer of well-draining potting mix at the bottom. When get prepared, take the following steps to repot a snake plant with simple steps.
Repot a Snake Plant
- Gently grip the base of the plant and wiggle it to loosen the roots. You may need to tap the sides of the pot to help release it.
- Check for any dead or rotting roots and trim these away with clean scissors.
- Center the plant in the new pot and fill in around the roots with more potting mix. Ensure the top of the root ball is level with the rim of the pot.
- Lightly water the plant to help settle the soil. Avoid soaking it as your snake plants prefer to dry out between waterings.
Now you should place the repotted snake plant in a location with bright indirect light or LED grow lights. Allow the plant to acclimate for a few weeks before resuming regular care. Monitor for signs of stress, like wilting or yellowing leaves.
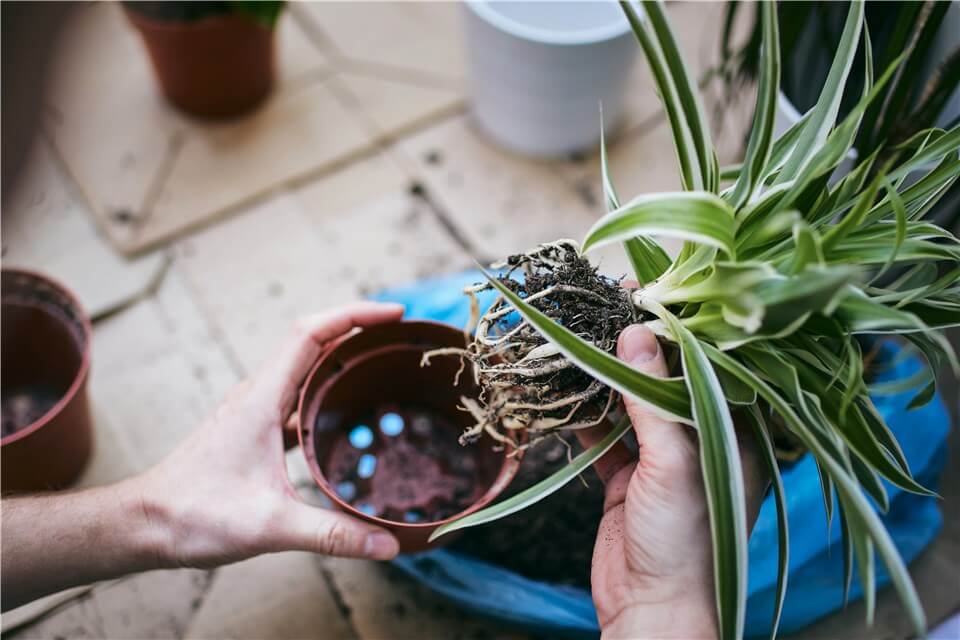
Repot a Spider Plant
Repotting a Spider Plant as easy as propagating a Spider Plant. This process not only promotes healthy growth but also prevents the plant from becoming root-bound.
Repot a Spider Plant
- Gently remove the plant from its current container by tipping the pot on its side and pulling it out from the base, avoiding any strain on the leaves.
- Tease the roots apart to loosen them, trimming any excessively long roots if necessary, and remove some old soil to make room for fresh potting mix.
- After preparing the roots, place the plant in a new pot that is one size larger, filling it halfway with well-draining soil. Position the plant at the same depth it was previously and fill in around the roots with more soil, pressing gently to eliminate air pockets.
- Water the plant thoroughly to help settle the soil and encourage root growth, allowing any excess water to drain out before returning it to its original location.
Repot a Jade Plant
Typically, you're suggested to repot Jade plants every 3 to 4 years after Jade Plant propagation, although younger plants may require it every 2 to 3 years due to faster growth. Signs that it's time to repot include root binding, where the roots are tightly wrapped around the base of the pot, as well as yellowing leaves or stunted growth.
Repotting a jade plant can provide fresh soil that replenishes nutrients and improves drainage. It can also allow for increased root space, promoting healthier growth and preventing the plant from becoming root-bound.

Repot a Jade Plant
- Choose a new pot that is slightly larger than the current one. A stable pot, such as a clay pot, is ideal for supporting the plant's heavy crown.
- Water the Jade Plant a few hours before repotting to help loosen the soil and reduce stress on the plant during the process.
- Gently tap the sides of the current pot to loosen the soil, then carefully pull the plant out by grasping it at the base. If it resists, use a knife to run along the edges of the pot to free any roots stuck to the sides.
- Once removed, gently loosen any tightly bound roots and shake off excess old soil. Inspect the roots for any damage or rot, trimming away any unhealthy sections.
- Add a layer of fresh, well-draining soil to the bottom of the new pot. Position the Jade Plant in the center, ensuring it sits at the same depth as before, and fill in around the roots with more soil, pressing gently to eliminate air pockets.
- After repotting, water the plant thoroughly until water drains out of the bottom. If the plant was healthy before repotting, you can wait a few days before watering again to allow it to settle.
After repotting the plant, place the repotted Jade Plant in a bright but sheltered location. Try to avoid direct sunlight for a few days to help it acclimate. Monitor for signs of stress and avoid fertilizing until the plant shows signs of new growth.