How to Propagate a Spider Plant with Babies [3 Ways]
Regardless of the specific approach, one of the simplest methods to propagate spider plants is through their offshoots, also known as "plantlets" or "babies." These grow directly from the mother plant and can be easily transplanted. Propagating spider plants from baby spiderettes requires a rather mature and healthy mother plant. If you do have a well-developed spider plant, identify where to cut the baby plantlets and choose any of the following approaches to achieve propagation.
Where to Cut Spider Plant Babies
The Spider Plant babies are connected to the mother plant by thin, wiry stems known as stolons. Each baby grows at the end of a stolon. Ideally, wait until the baby has developed tiny roots before cutting. These roots look like small, white bumps or tendrils extending from the bottom of the plantlet.
The ideal spot to cut is close to the base of the baby, near where it connects to the stolon. Leave a short piece of the stolon attached to the baby - about a quarter-inch or so. Then carefully make a clean cut through the stolon, ensuring it does not damage the baby plant or its emerging roots. Now you are good to propagate spider plants with either water or soil.
Propagating Spider Plant Babies in Water
Water propagation is particularly useful for those who want to observe root growth, as it requires placing the baby plantlets in a glass filled with water. However, it’s evident that roots grown in water are more fragile and could struggle more with transplantation compared to those started in soil.
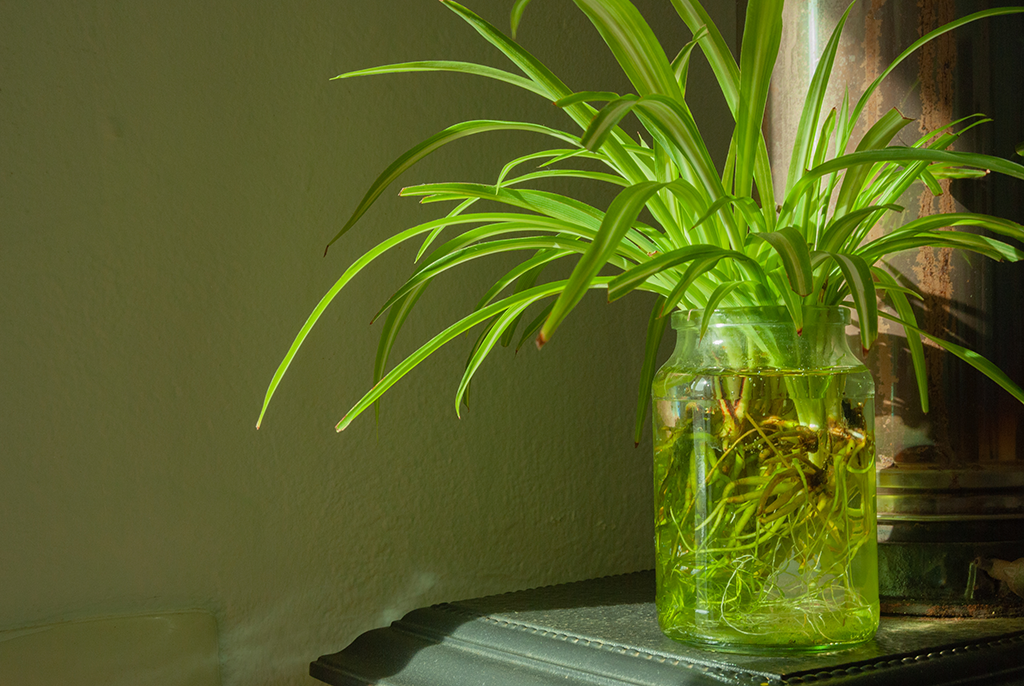
- Strip the lower leaves from the plantlet to prevent decay in water.
- Fill a shallow vessel with water, ensuring the plantlet is placed in the middle of the container.
- Set the container in a spot with bright, filtered light.
- When roots reach 2 to 3 inches, plant the spiderette in the soil to complete transplanting.
Alternatively, you can propagate spider plants using paper towels. However, this method requires consistent monitoring to ensure the towel remains moist. If it dries out, the developing roots can quickly desiccate and die. So, we don’t actually recommend this propagation method.
Propagating Spider Plant Babies with Soil
Rooting a spider plant plantlet directly in the soil is notably the simplest and fastest approach. Soil propagation often contributes to more robust root systems. Interestingly, if the plantlets already exhibit small roots, they're likely to establish root systems more rapidly.
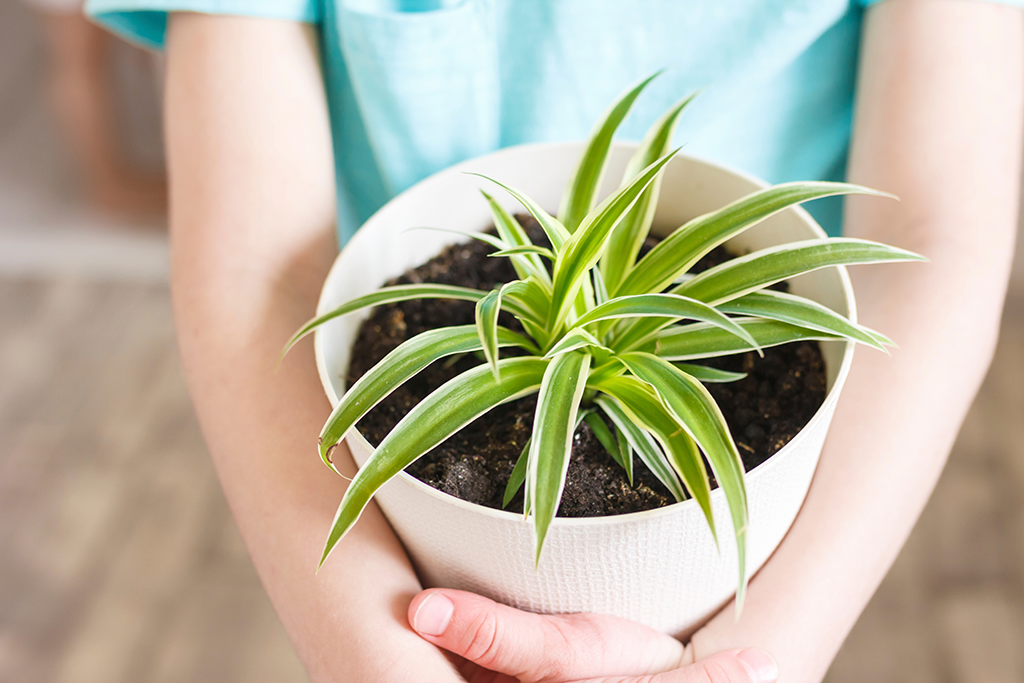
- Select a pot with enough drainage holes and fill it with a lightweight and loamy potting mix.
- Make a shallow indentation in the middle of the mix - you have to leave some space for the roots to grow.
- Insert the end of the plantlet into this indentation, then gently cover it with the planting mix.
- Thoroughly water the newly planted spiderette and situate it in an area with bright, indirect sunlight.
How to Propagate Spider Plant Stolon
You can propagate spider plants by utilizing the young plantlets that grow at the ends of the plant's long, slender offshoots known as stolons or runners. However, instead of detaching plantlets right away as mentioned above, you allow them to develop roots while they remain connected to the mother plant. By doing so, the plantlets benefit from the parent's supply of water and nutrients through the connecting stolon until they've grown a sufficient root system to sustain themselves.
To do this:
- Select a container that can comfortably accommodate the plantlet and fill it with a soilless potting mix. The pot should be close enough to the parent plant to allow the stolon to reach without stretching too much.
- Craft a hole deep enough to bury the plantlet's base and any emerging roots.
- Still connected to the parent by the stolon, nestle the plantlet into this hole, then cover its base and any roots with the mix.
- Thoroughly water the soil and situate the pot in an area that receives bright, indirect light.
- Once the plantlet has established a robust root system - which you can check by tugging gently to feel for resistance - snip the stolon above the soil level of the plantlet's pot to separate it from the mother plant. Then it can continue to grow independently.
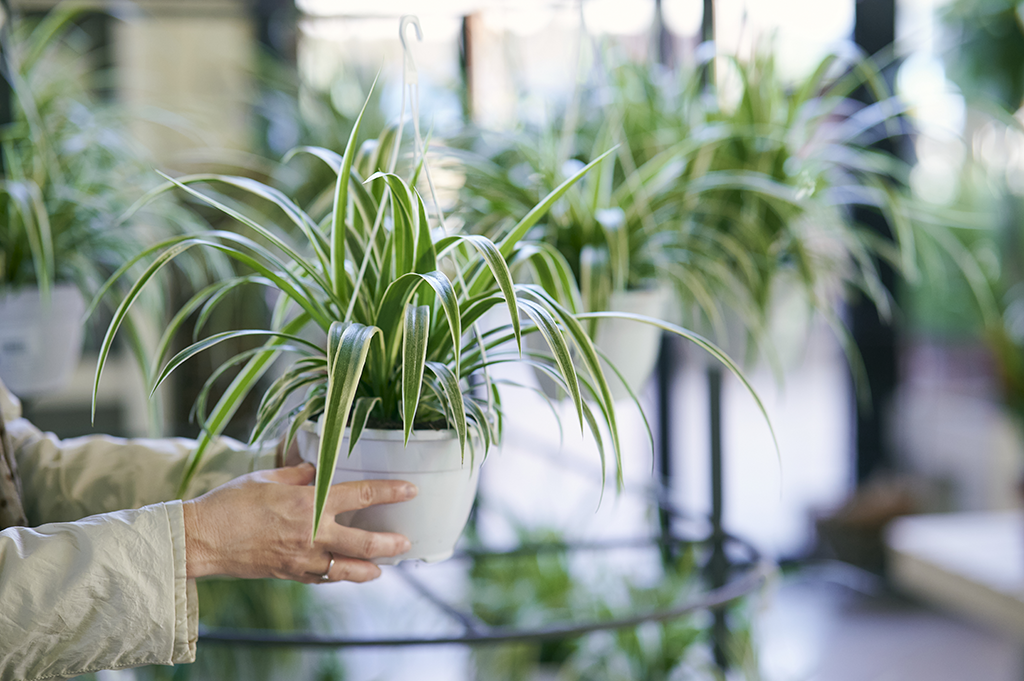
How to Propagate a Spider Plant without Babies [Division]
If you don’t want to make the cut, whether sooner or later, propagating a spider plant by division suits you best. The only thing about division is that it can get quite messy, as you have to unpot the plant and divide the roots by hand.
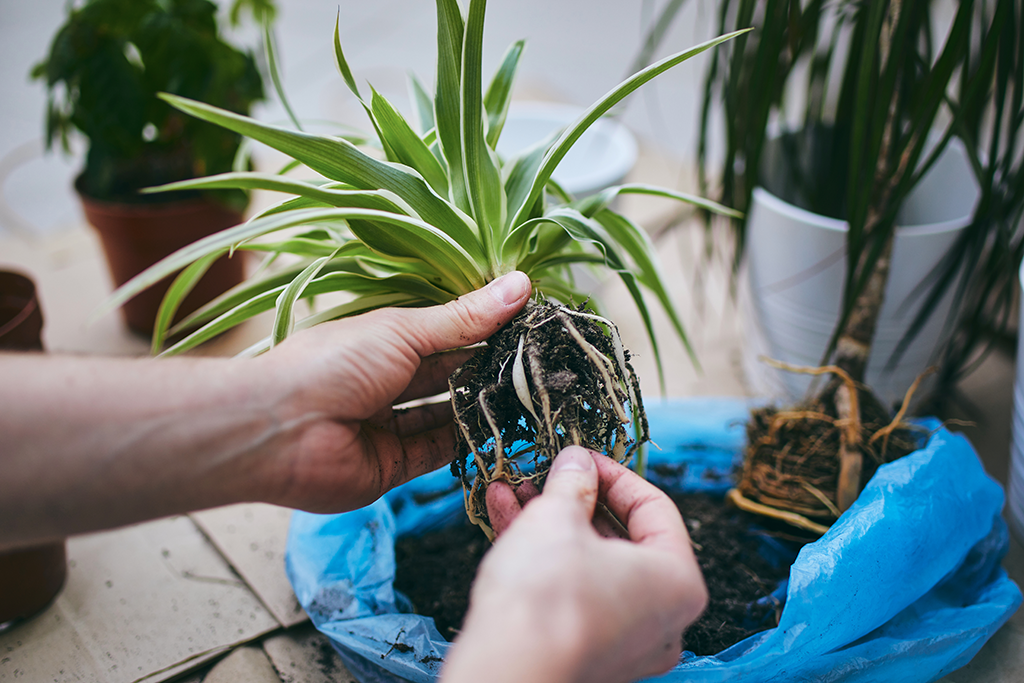
- Carefully remove the spider plant from its current pot, trying not to damage the roots.
- Examine the root ball for sections where the plant can be divided easily, ensuring each section has roots and leaves.
- With your clean tool, cut the root ball into sections, each with its own roots and foliage.
- Plant each spider plant section in its own pot with fresh, moist soil. Ensure they’re planted at their original depth.
- Thoroughly water each new plant to settle the soil around the roots. Similarly, mind the position to offer bright and indirect light for newly planted divisions.
FAQs about Propagating a Spider Plant
Can I Propagate Spider Plants from a Leaf?
No, unlike other plant propagation, such as propagating aloe, you won’t be able to propagate spider plants from a single leaf. A spider plant leaf cut and placed in soil or water does not develop roots or grow into a new plant. For effective propagation, always use methods involving the roots or plantlets that contain both roots and leaves.
How Long Does It Take to Propagate a Spider Plant?
When propagating by division, new growth can be seen within a few weeks, and the plant should begin to establish itself in its new pot relatively quickly. For propagations from babies or plantlets, roots may begin to form within a week or two when placed in water, and a few weeks longer if directly potted in soil. However, it can take several months for the plant to fully establish and start producing its own babies.
Spider Plant Not Propagating, What to Do?
If your spider plant is not propagating successfully, consider the following tips:
- Ensure Adequate Light: While spider plants prefer bright, indirect light, too little light can hamper growth. Ensure your propagation setup is in an appropriately lit area.
- Check Water Levels: For water propagation, change the water regularly to keep it fresh and oxygenated. For soil propagation, keep the soil moist but not waterlogged.
- Evaluate Temperature and Humidity: Spider plants thrive in temperatures between 65°F and 90°F (18°C to 32°C). If your environment is too cold or too hot, it might affect the propagation process. To fix this issue, you can purchase a heat mat for plants. Additionally, a humidity level of around 40-60% is ideal.
More on Propagation: